A studio apartment is simultaneously the easiest and hardest type of home to organize. Easy because there’s less space. Hard because every choice shows.
In a studio, your bedroom, living room, kitchen, and sometimes office all coexist in one open space. There’s no door to hide the mess behind. Every organizational decision (or lack thereof) is on full display.
The good news: with the right system and one dedicated weekend, you can transform even the most chaotic studio into a calm, functional space.
Before You Start: The Studio Apartment Mindset
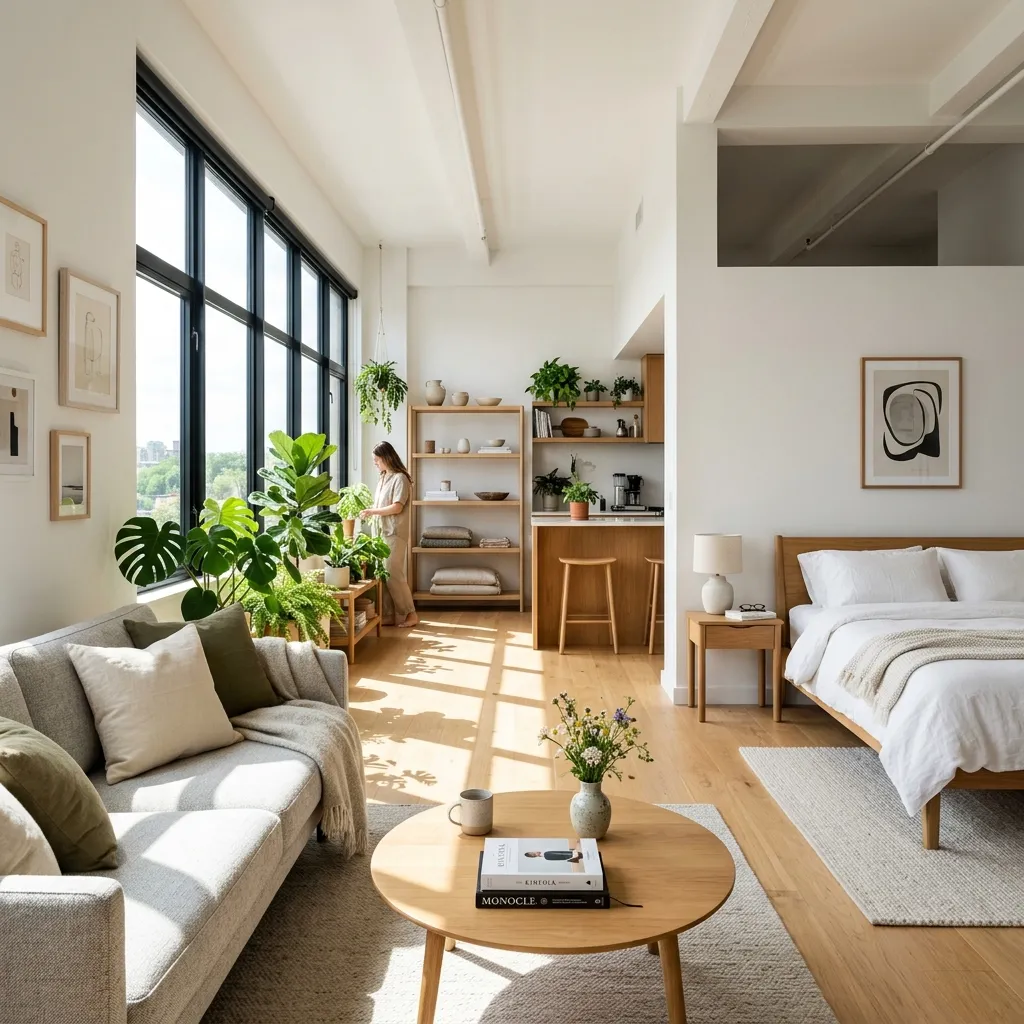
The most important shift in thinking about studio organization is this: you’re designing zones, not rooms.
In a traditional house, rooms define your activities. In a studio, you define them yourself — through furniture placement, lighting, and storage systems. This is actually liberating once you lean into it.
Day 1 Morning (3 hours): The Ruthless Declutter
You cannot organize clutter. The first step is always reduction.
The Three-Box System
Set up three boxes or bags:
- Keep — things that have a clear purpose and place
- Donate/Sell — things in good condition that you haven’t used in 6+ months
- Trash — broken, expired, or truly useless items
Work through every category:
- Clothing (hardest — do this last)
- Kitchen items
- Books and papers
- Electronics and cables
- Toiletries and medicine
- Hobby items
The studio apartment rule: If you can’t identify exactly where this item will live in your apartment, it doesn’t pass the keep test.
The 12-Month Rule
For borderline items, ask: “Have I used this in the last 12 months, and will I realistically use it in the next 12?” If the honest answer is no to either — it goes.
Day 1 Afternoon (4 hours): Zone Planning
Your studio needs at least three clearly defined zones:
Zone 1: The Sleep Zone
- The bed is the anchor point
- Everything within arm’s reach should be sleep-related only
- Keep nightstands minimal: phone charger, lamp, water, book
Zone 2: The Living Zone
- Sofa + rug define this area
- The sofa should face away from the bed (visual separation)
- This is your entertainment and relaxation space
Zone 3: The Kitchen Zone
- Keep it entirely separate from the other zones
- A kitchen cart on wheels can expand and contract cooking space
Bonus zones (if your studio allows):
- A work/study nook
- A dining area (even just a small bar with bar stools)
Day 2: Implementing Your System
The Storage Hierarchy
Organize items based on how often you use them:
- Daily use → Front of drawers, eye-level shelves, countertops
- Weekly use → Mid-level drawers, reachable shelves
- Monthly use → High shelves, back of closets
- Seasonal → Under bed, top of closets, storage ottomans
Closet Organization for Studios
Your closet is doing the heavy lifting in a studio because you need it to contain everything that would normally spread across multiple rooms. Maximize it:
- Double hang rod — add a second rod below to hang twice the clothing
- Shelf dividers — prevent stacks from toppling
- Over-the-door organizer — shoes, accessories, small items
- Clear bins for the top shelf — labeled, so you know what’s inside
The Final Touch: Visual Calm
Organization isn’t just functional — in a studio, it’s about visual calm. When your eye has nowhere calm to land, the space feels chaotic even if it’s technically organized.
Create visual rest:
- Stick to 2–3 colors for storage containers (matching baskets, same-color hangers)
- Keep countertops to maximum 3–4 items
- Use the same material for visible storage (all wicker, or all white, or all clear)
Your Weekend Organizing Checklist
- Complete the three-box declutter
- Define your zones
- Set up the closet with double rod
- Add under-bed storage
- Organize kitchen cabinets by frequency of use
- Label all bins and baskets
- Clear all countertops to essentials only
- Create a “landing zone” by the door for keys, bags, mail
A studio apartment done right isn’t about sacrificing — it’s about intention. Every item earns its place. That’s not a constraint. That’s a superpower.
Share your studio transformation with us on Pinterest — tag @compactorganize!